Windows deployment
Environmental Installation
Installation. NET runtime environment
- download and install the Hosting bundle, ASP.NET Core Runtime version 9.x x64, as shown in the figure
- https://dotnet.microsoft.com/en-us/download/dotnet/9.0

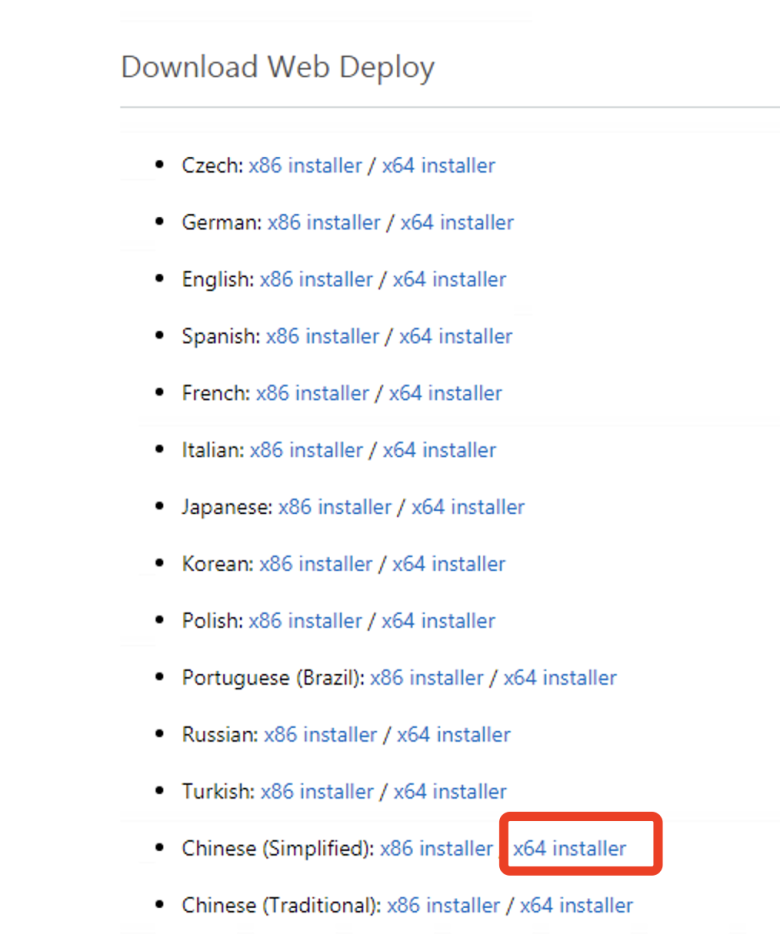
Download Web Deploy
- https://www.iis.net/downloads/microsoft/web-deploy
- it is recommended to check whether there are AspNetCoreModuleV2 modules in the iis module after installation
- Select a typical installation when installing
- Ensure that the following 2 services are [Running], and the startup type is configured as [Automatic] (some windows server2016 systems do not need to check this step)
- Note: Other problems such as service startup errors may be encountered. It is recommended to restart the server operating system at this time.

Install IIS
- This step is a basic operation, but Baidu.
Install MySql database
- Support MySql5.5, 5.6, 5.7, 8.0
- official 5.7 download address: https://dev.mysql.com/downloads/file/?id=514047
- Click [No thanks, just start my download. ]] Text link to download
- If you are prompted to Upgrage at the beginning of the installation, click [No]]
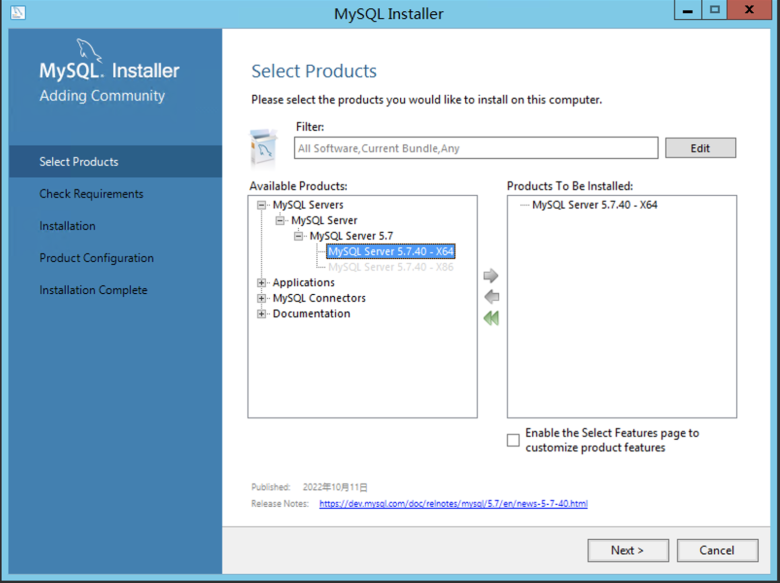
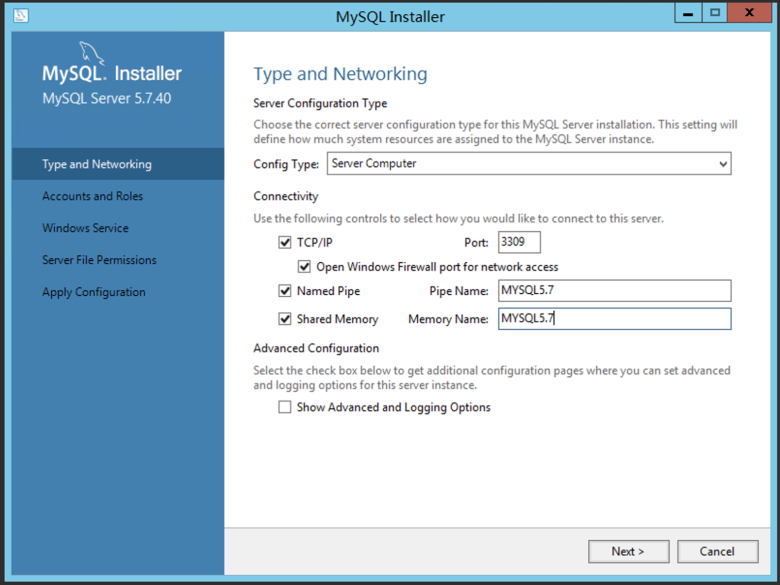
- Prompt to Chooseing a Setup Type during installation and select [Server only]]
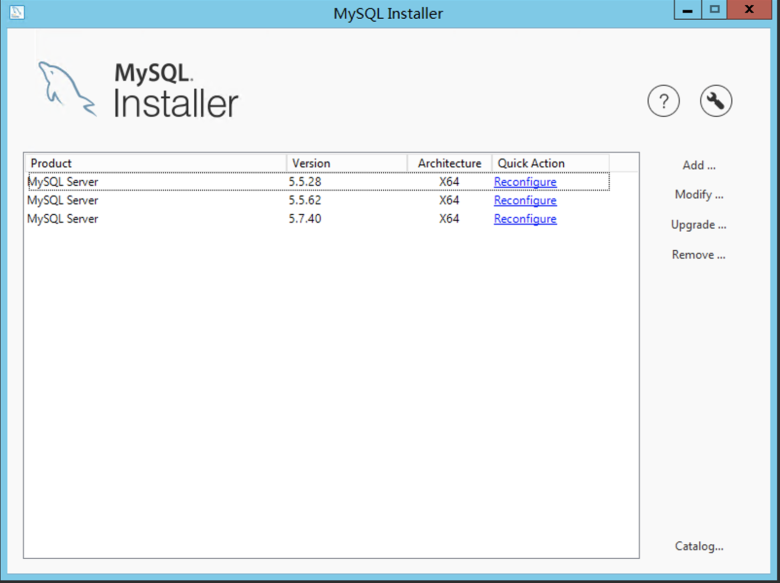
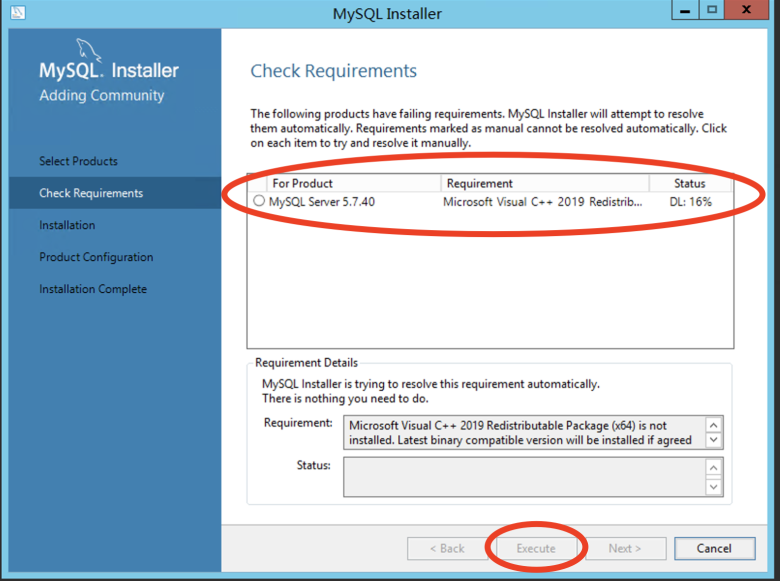
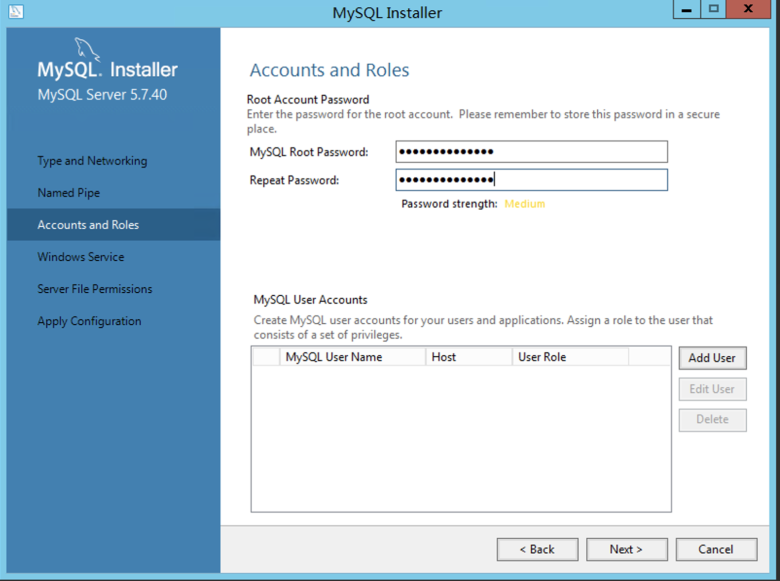
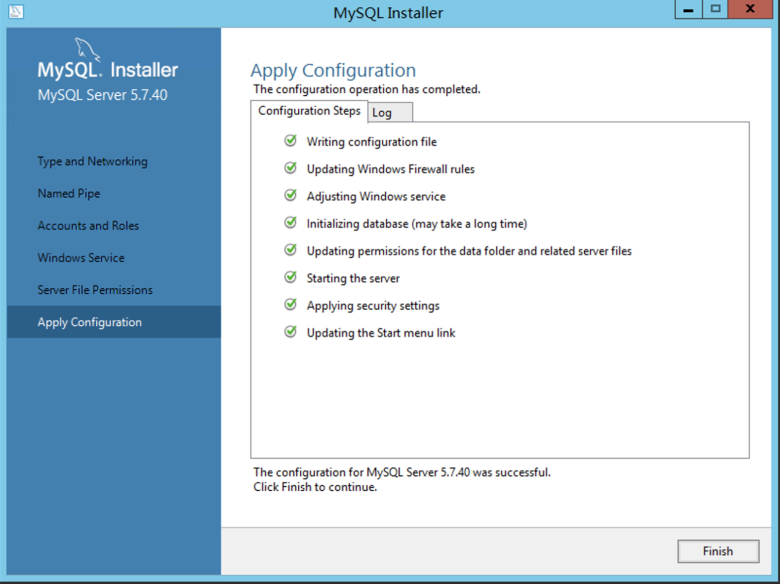
- Screenshot of the installation steps (the interface of the installation package downloaded at different times may be different, but it is roughly the same):
- Click [Add] on the right]
- a) After the installation is completed, the port number needs to be released through the firewall.
- B) Allow mysql remote connection:

json
进入C:\Windows\System32\cmd.exe或C:\Program Files\MySQL\MySQL Server 5.7\bin安装目录,执行cmd命令:
#mysql -uroot -p密码 -P端口  (如:mysql -uroot -pmysql5.7.itdos -P3309)
#use mysql;
#update user set host='%' where user ='root';
#FLUSH PRIVILEGES;
#GRANT ALL PRIVILEGES ON *.* TO 'root'@'%'WITH GRANT OPTION;
以上均为mysql常用命令,此时需要在服务器防火墙开放mysql端口,如果是阿里云还需要配置安全组开放端口。
- c) Use Navicat to connect mysql locally, create a database (note that the database code uses utf8mb4 and utf8mb4_general_ci), and restore the database on the https:// OS .cyguzi.com (it is recommended to use Navicat to connect to the library on the external network, then back it up and restore it, or download the database backup from the pagoda). Navicat cracked version: https://static.itdos.com/soft/Navicat-Premium-15.zip
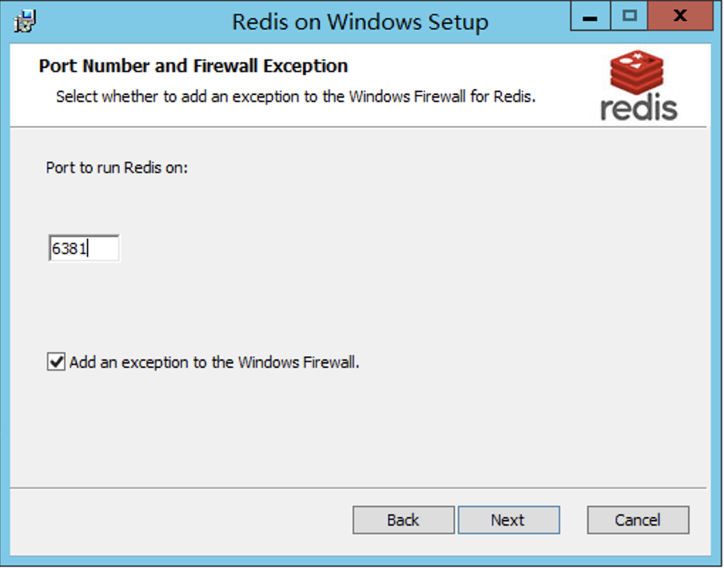
Install Redis Cache
- download redis msi installation package: https://github.com/microsoftarchive/redis/releases
- Github is occasionally slow, iTdos link: https://static.itdos.com/soft/redis-x64-3.0.504.msi
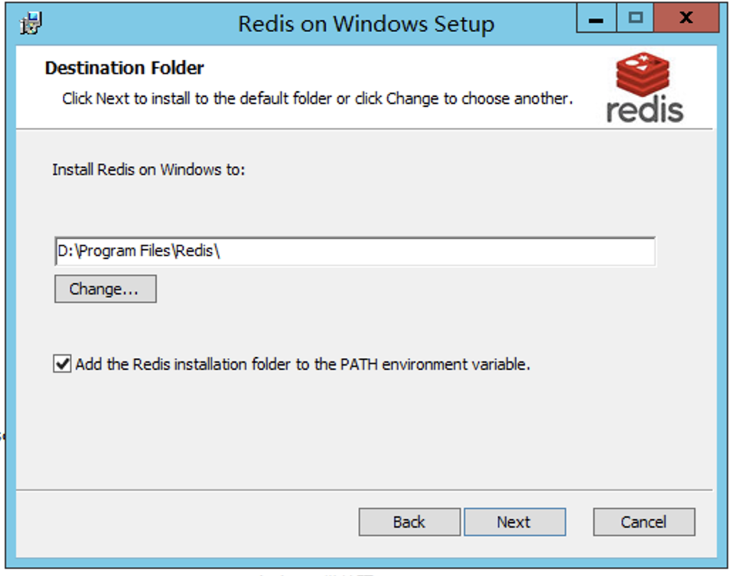
- Installation steps are relatively simple:
- After the installation is complete, you can see that the Redis service is running in the service.
- Edit installation directory This file: D:\Program Files\Redis\redis.windows-service.conf
- a) allow remote connection: about line 60 or so# bind 127.0.0.1 add a line below: bind 0.0.0.0
- B) set password: about line 387 or so# add a line below the requirepass foobared: requirepass redis.itdos(redis.itdos is the password, which can be customized)
- c) Restart the Redis service, open the port on the firewall, and use the Redis connection tool to test the connection.
Install MongoDB Database
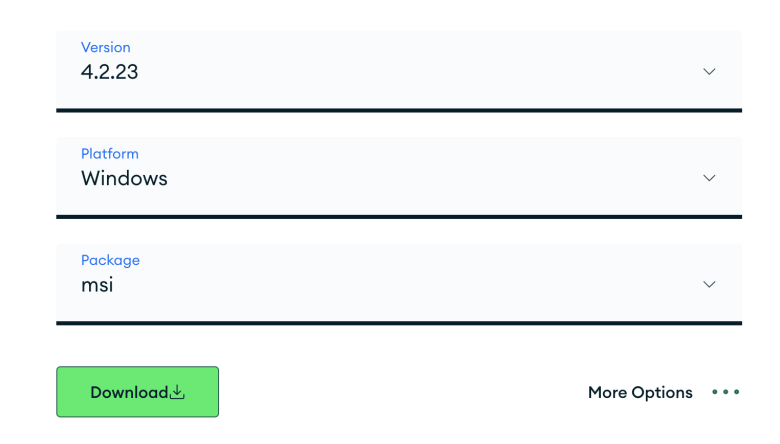
- currently we are using 4.2.23,4.4.17 does not support Windows Server2012 R2,6.x command changes under centos.
- Download msi installation package: https://www.mongodb.com/try/download/community
- iTdos download address: https://static.itdos.com/soft/mongodb-win32-x86_64-2012plus-4.2.23-signed.msi
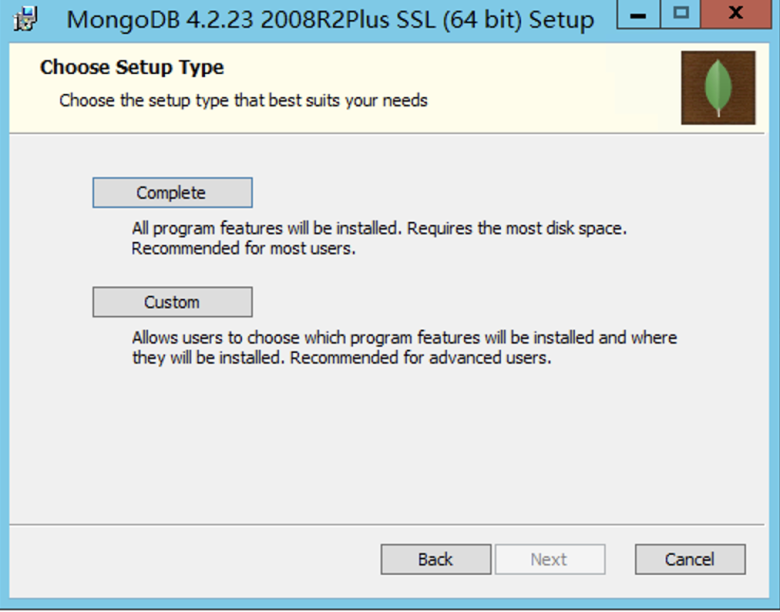
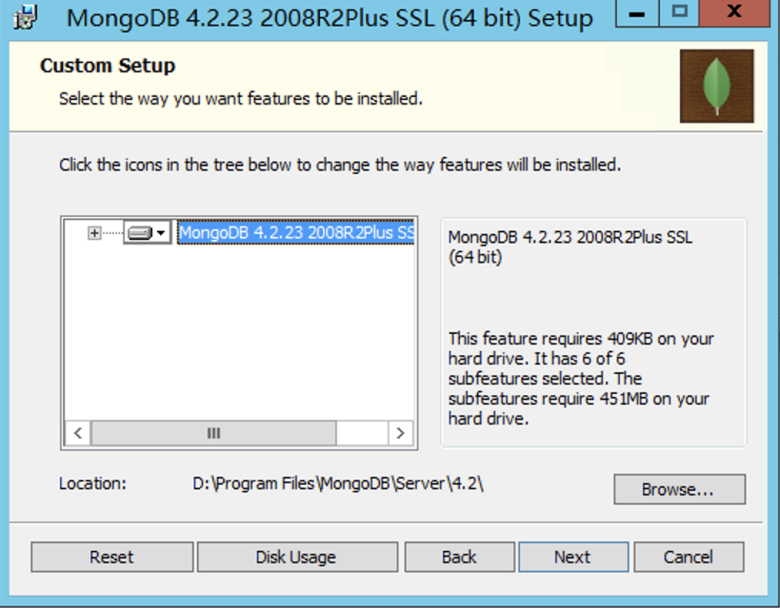
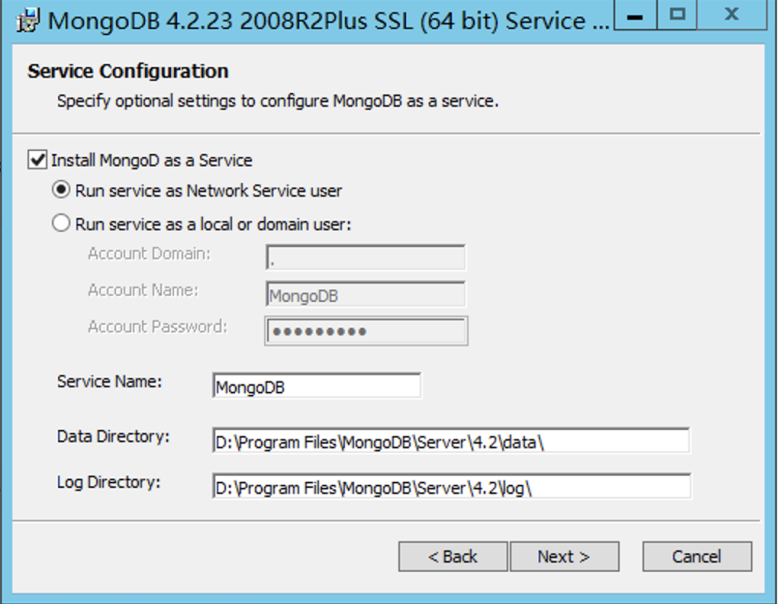
- Select Custom
- Use the default Run service as Network Service user
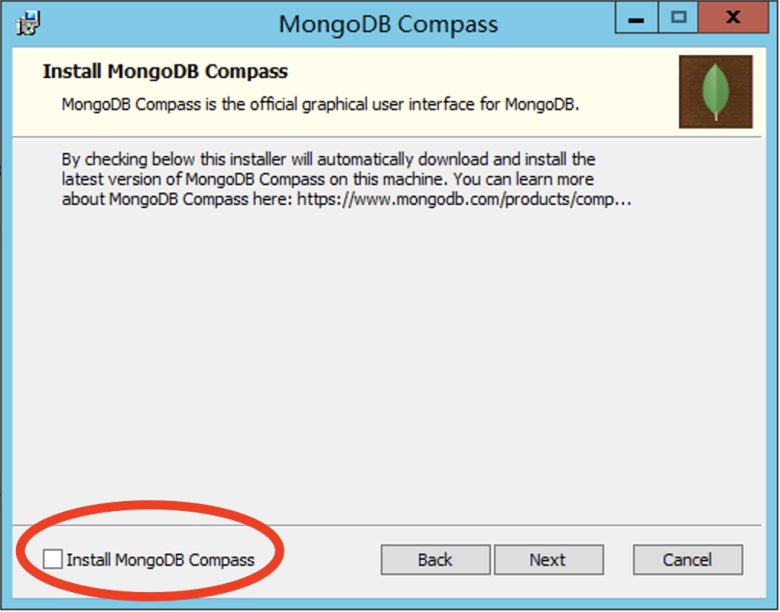
- Remove the tick of the Install MongoDB Compass.
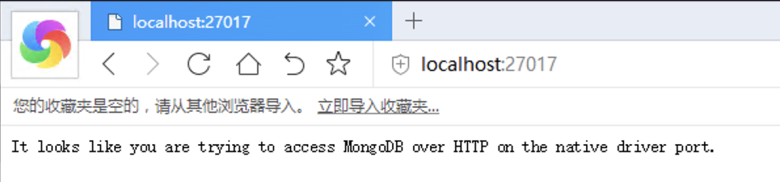
- Access after installation: localhost:27017 The following interface appears to indicate that the installation was successful, and MongoDB services are running in the Windows service.
- Set account password:
- a) enter the MongoDB installation directory: D:\Program Files\MongoDB\Server\4.2\bin to execute cmd
- B) Execute the command:
json
#mongo
#use admin
#db.createUser({user: 'root', pwd: 'iTdos.mongo', roles: ['root']})
说明:创建root用户,密码iTdos.mongo(自定义)
#db.auth('root', 'iTdos.mongo')
说明:测试连接,返回1表示正确Install MinIO Distributed Storage
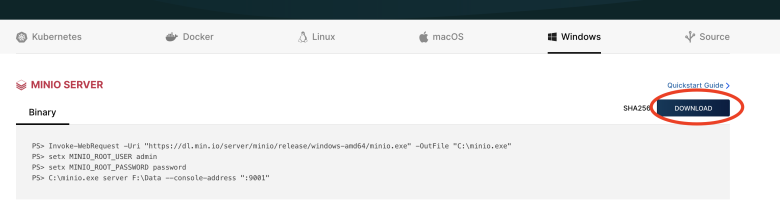
- enter the official website to download the installer: https://min.io/download#/windows
- just an exe program
- Run mode:
- a) Place minio.exe in a directory such as D:\Microi\Minio\minio.exe.
- B) Download WinSW-net461.exe: https://static.itdos.com/soft/WinSW-net461.exe将它放到minio.exe同样的位置,且修改文件名为minio-server.exe
- c) create a new minio-server.xml file in the minio.exe directory, link: https://static.itdos.com/soft/minio-server.xml
- d)cmd enters the directory where minio.exe is located (note that it is not directly double-clicking the mouse to run exe)
- e) Execute the command:
json
#minio-server.exe install
#minio-server.exe start
其它常用命令:
#minio-server.exe stop
#sc delete minio-server.exe
服务器需要对应端口。
注意:
Sys_OsClients中的【MinIOEndPoint】需要配置为:{服务器内网IP}:9000
系统设置--开发配置中的【FileServer】需要配置为:http://{服务器外网IP}:9000/itdos-public
- f) access localhost:9000, default accounts are minioadmin
- g) create 2 Buckets, one private and one public, which can be named respectively (name customization):itdos-public (the permission configured in the interface is public) and itdos-private
Install the IIS environment
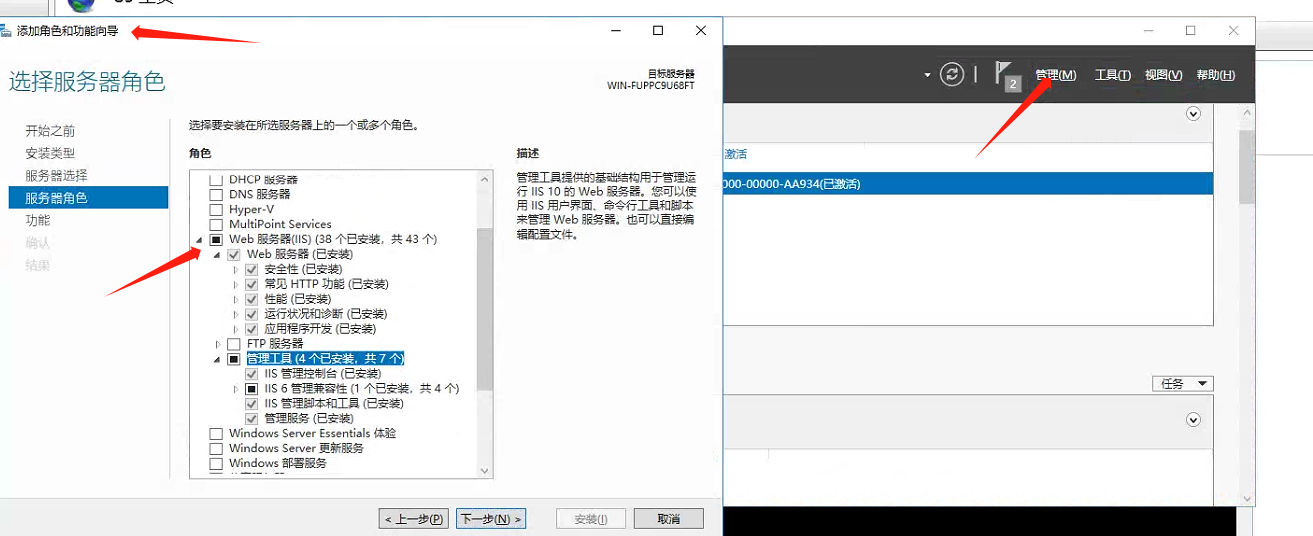
- Open the server management interface
- management-add roles and functions-default next step to server role-check web server (IIS) all check (except FTP server module)
- Default next step until installation succeeds
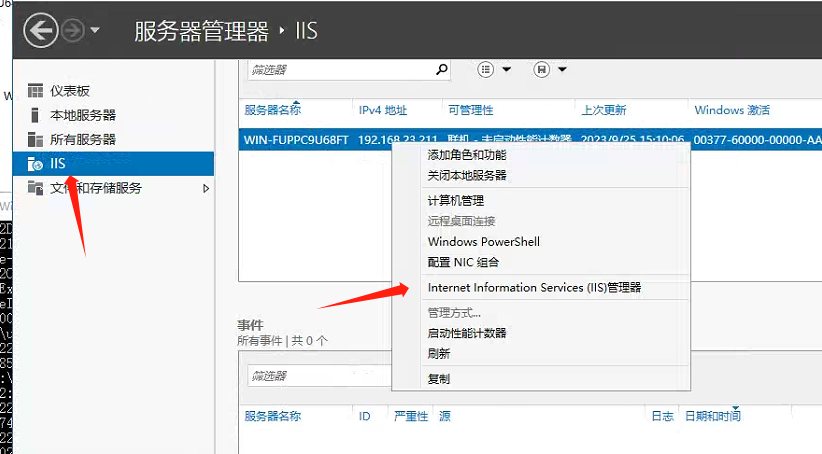
- Open IIS management interface
Program Deployment
Download and extract the program 2-piece set
Deploy microi-api back-end interface system
- open the appsettings.json file in the root directory, edit and modify the four parameters of [OsClient, OsClientType, OsClientNetwork, OsClientDbConn] to the local corresponding
- after the modification is completed, run cmd or powershell in the same directory and execute the command
dotnet Microi.net.Auth.dll --urls=http://0.0.0.0:1051, successfully run the program, if prompted to lisence the problem, provide the corresponding HID (note that HID will be output in the error message, you can directly obtain HID), feedback to the system administrator, to obtain the commercial authorization to obtain the certificate, after obtaining, put it under the directory at the same level to overwrite, run the command again.- After the deployment is completed, whether the access is normal (assuming the port is 1051):localhost:1051
- finally, you can make the service program into a windows server service for management. the command reference is as follows:
SC create microi-api binPath="C:\Microi\Microi.net.Auth\net10.0\Microi.net.Api.exe"

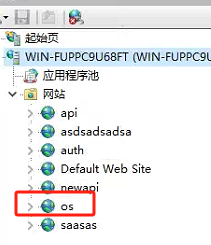
Deployment microi-web front-end access system
- You can create a website directly, using any program pool, without configuring environment variables,
- However, you need to modify the OsClient and ApiBase corresponding variable values in the root directory/index.html. The figure here is for reference only. It should be filled in according to the real client name and api address interface.
